MShaw-FolkArt.com
  • hOme
  • fOlk aRtist
  • aRt for sAle
  • contact
  • all things teXtile
    • What other's have done
    • punch needle
    • What others R doing page2
    • rug punch
  • 610 hOuse blog

Fri am in my night shirt window shelf

2/14/2014

0 Comments

 
Picture
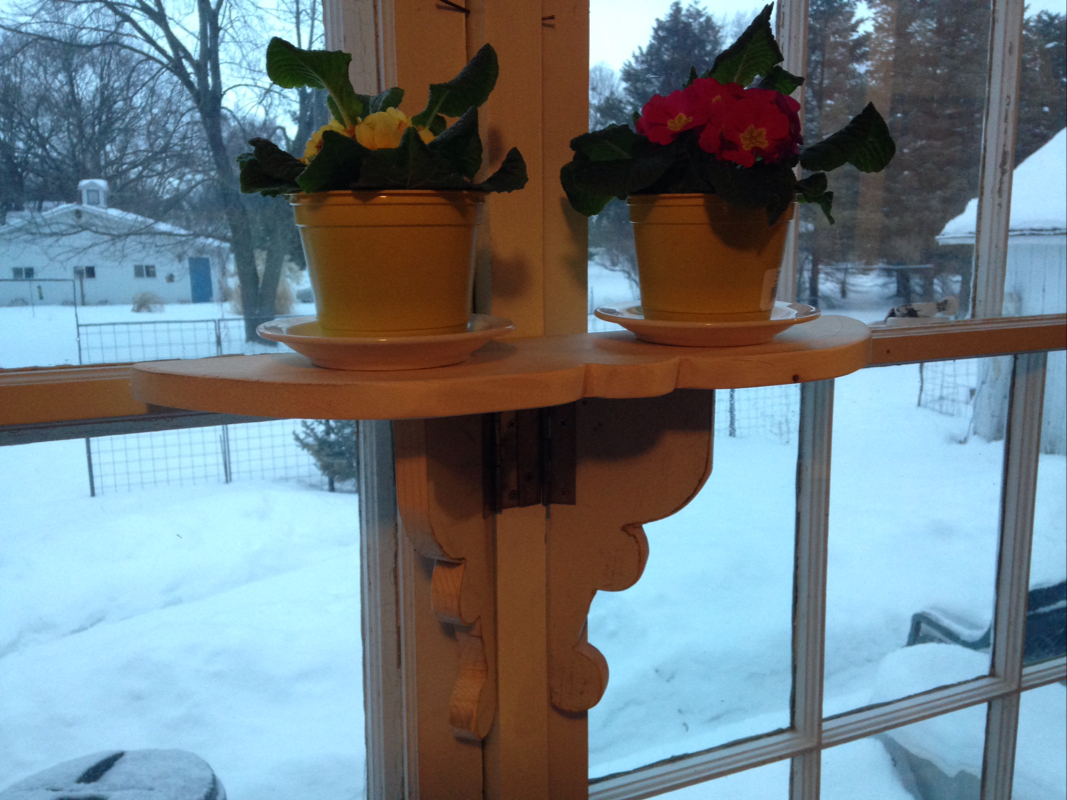
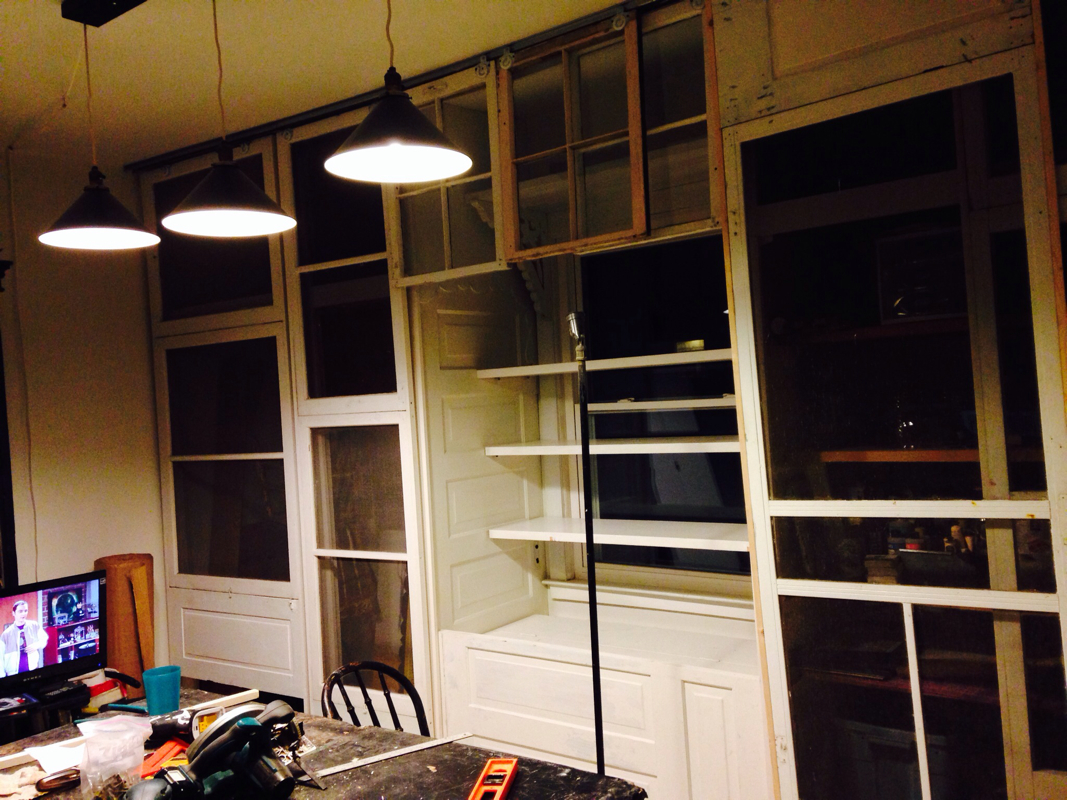
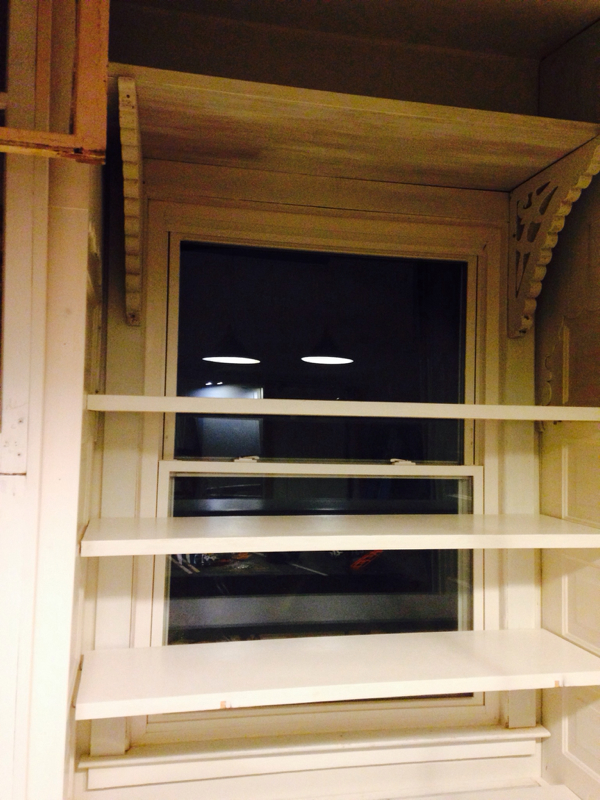
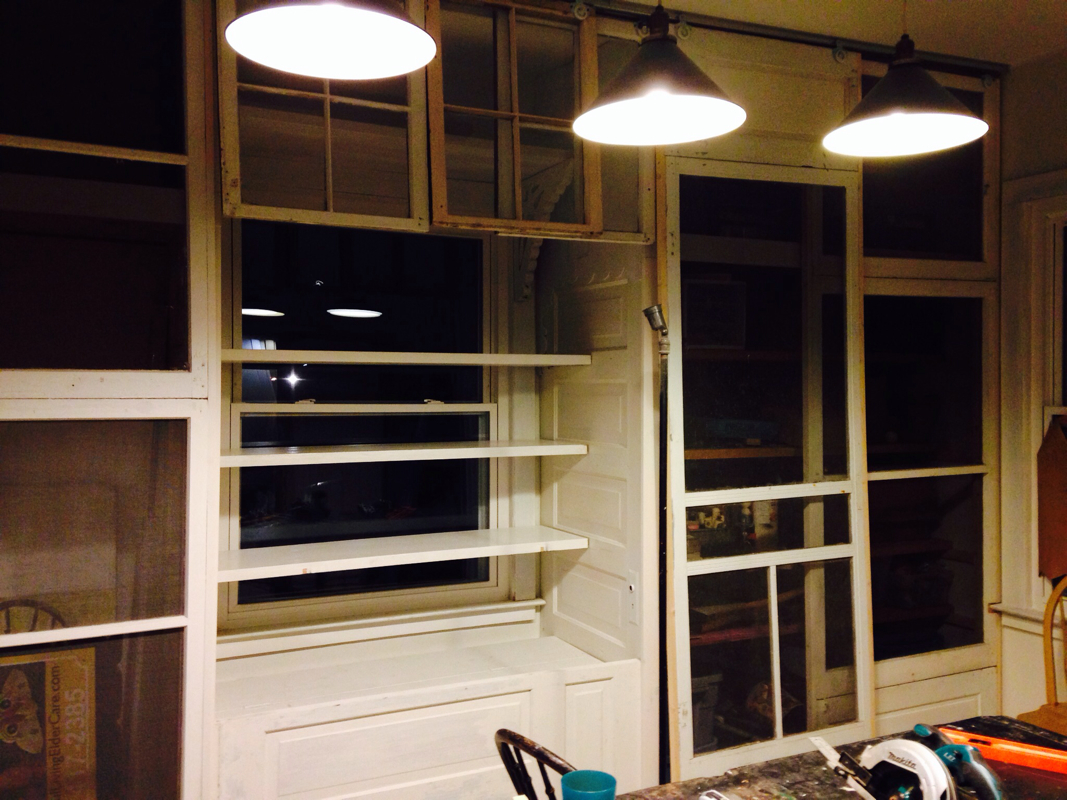
This sweet little window shelf is suspended on the wood 2x4 separating my huge kitchen windows. This is a ( only) south window . I didn't want to goop up the view and so it Dawned on me to put a small shelf that appeared to be floating, this is how it was done. Also i needed to be able to remove storm windows ( on inside) and operate windows during the summer months.
Picture
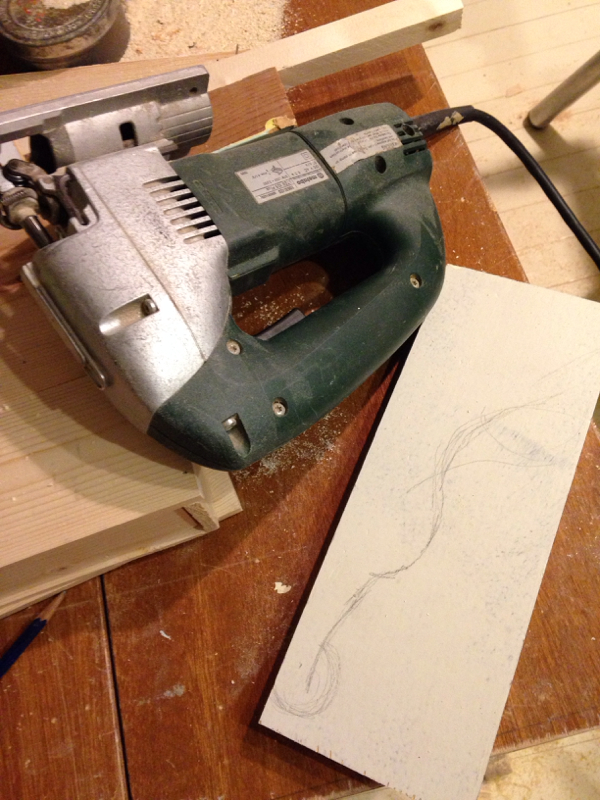
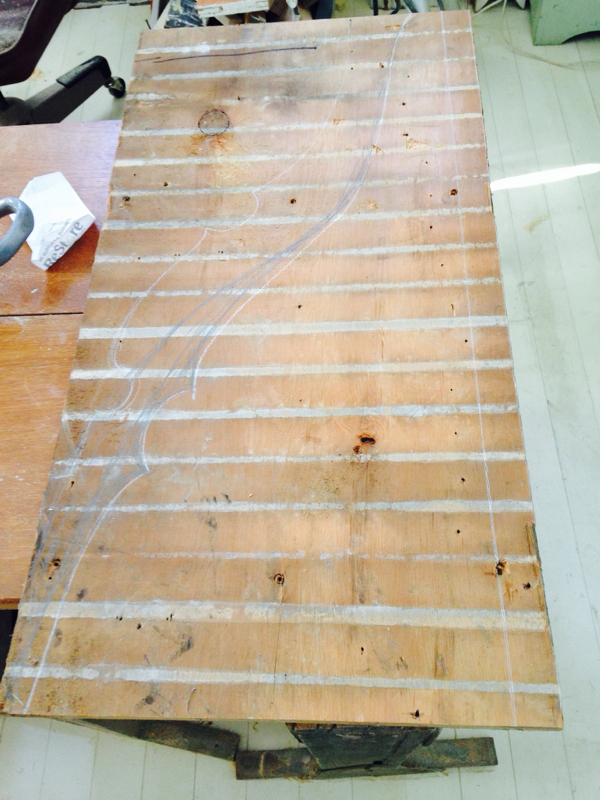
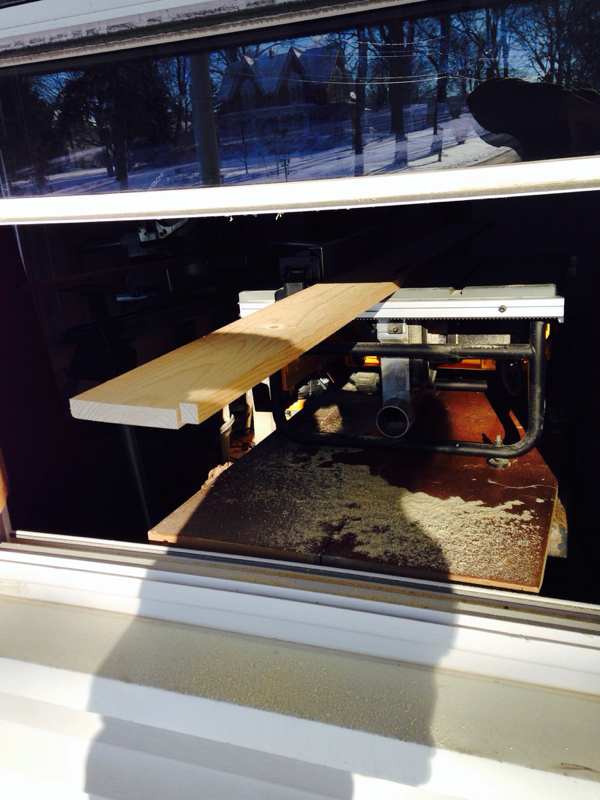
I free hand drew 2 supports on scrap 1x4. Sawed them out and sanded edges. Also a top that i made to big first time around so i cut it smaller. It was cut from scrap 1x6. It is 1/2 of a oval shape, sort of. Again i free hand drew on wood.
Picture
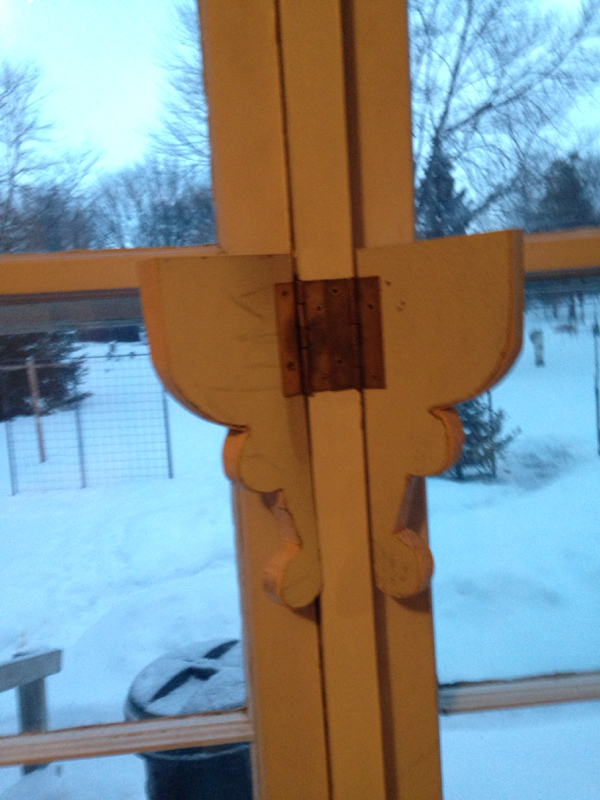
I hinged these wing supports, like gate legs onto afore mentioned support.
Picture
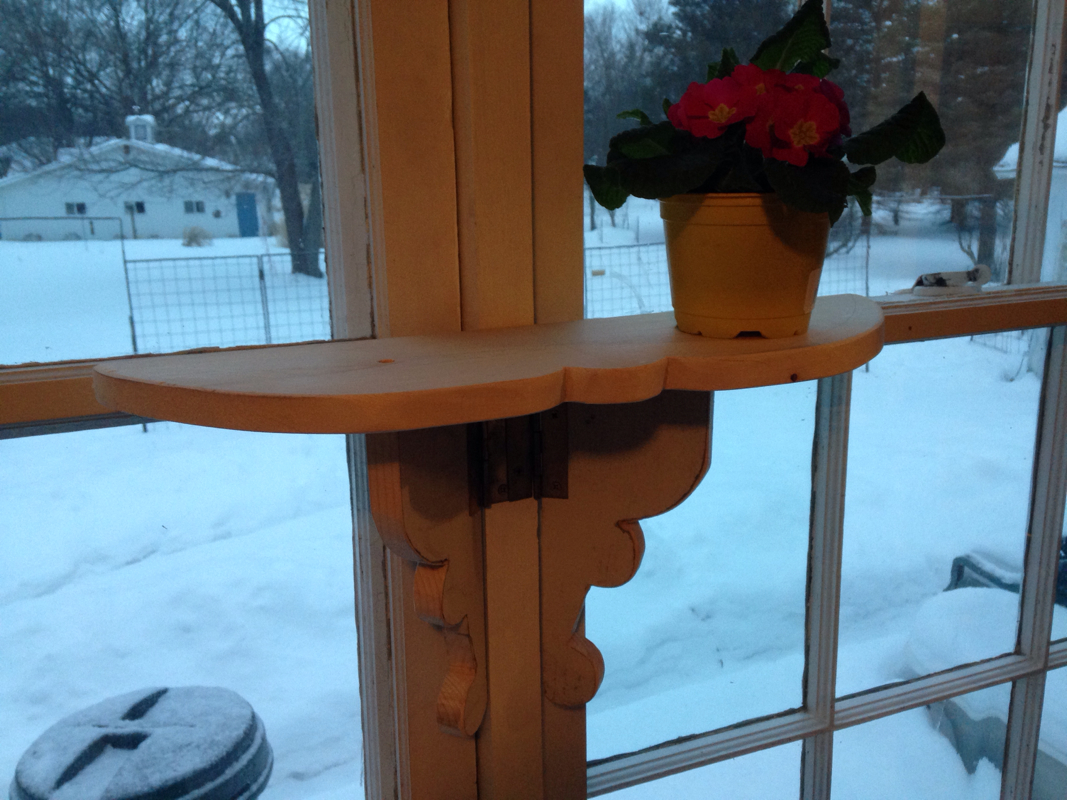
Then i sat the top on, arranged spread of supports, lined up and screwed from top down into supports, 1 screw each. It needs to be painted white. Very happy with results. When i need to remove storms it will be easy to remove screws, shelf top, swing support out of way. I 'd been thinking about a shelf in this window. Love it! Wood brackets are easy to make with the right tools and are lovely. These kinds of projects i can assist you with at 610 studio, come learn to cobble, design, construct creative treasures and heirloom gifts. Invest in yourself, make it.
0 Comments

Floor to ceiling wall nook, Sunday project

2/3/2014

0 Comments

 
Picture
I hope i won't have any issues with the smoke detector having a shelf below it. If so i'll remove top shelf. The shelving has wider shelves on bottom 4 shelves, 9". The upper 4 are 7" wide. New wood , some of it from left over projects, some from reclaimed resources. Air nailer came in handy. I used shoe molding to support shelves. All tied into studs. See next pic about bottom.
Picture
The side board wasn't long enough to reach ceiling so i added a leg on bottom. I shaped it and it is well out of the way to sweep floor. The shelf is well anchored but has a floating appearance.
Picture
Putting art and collectables on the shelves. I jumped up and down on floor to see if anything might topple. Hanging it from the wall made stable surfaces, plus they appear level. The book case i had there earlier was un level and made the living room appear crooked. Well it is! As all get out, but ... Now it looks straighter. Magic
0 Comments

Saturday kitchen project

2/3/2014

0 Comments

 
Picture
I built a shelf above the stove from a bed frame board, note how top end is wider? I cur the bed board in half and used the fancy ends to create wider plate shelves on upper level. Then i used new but left over 1x boards from baseboard project to build the rest. Painted it and stocked it. I need to find one more squat 1/2 jar to fill upper shelf with tea and beverage stock. I had squirreled away spice jars, dug them out, cleaned , transferred spices and labeled them . Pretty! It is securely attached to wall. Edge next to fridge has a strip of wood attached to shelf and then screwed into wall. The other side is attached to door frame.
0 Comments

Mon, Jan 20, 2014

1/20/2014

0 Comments

 
Picture
New office made from cherished toy cupboard my children used to play in. Note desk surface can be removed and gate support legs folded to stash easily for a clean look. Although i quite like the door open too.
Picture
Cupboard with desk removed and door closed. Fresh paint on inside and outside of cupboard.
Picture
The beginning...
Picture
Smeared on peanut butter and rubbed it around with my fingers then scraped again to remove another layer of adhesive. And yes it worked but still had a fine coat of glue which i tried using goo be gone, kinda helped. Ended up painting over fine layer of adhesive hoping it would dry out.
Picture
Removing adhesive from nice wide pine board i wanted to use for desk top. I laid rags on surface and poured boiling hot water to saturate rags. Lifted them and scraped adhesive with putty knife. Took several applications on each section to scrape off adhesive, ringing out rags and reheating. But it worked pretty well to scrape off a lot of the stuff. Then peanut butter!
Picture
I put in shelves in side the cupboard. I made one the same height as attachable desk top. The desk top has folding support brackets that attach to underside of desk with hinges and support desk top. The desk top has 2 Small L bracket that hook over a wood brace across door opening. Any questions about this , ask and i will clarify with pictures. Quite clever design. Now to stock the shelves, and install, hook up printer, scanner etc. sweet
Picture
Angle view
0 Comments

Worked out pretty well, panicked for a bit, what with slopping ceiling and uneven walls. As it gets painted it becomes more stately. :)

1/14/2014

0 Comments

 
Picture
Ta da! Getting close. Removed 2 panels, added short windows sliders above window shelf/ seat and wa la. Looking smart, now to caulk and paint, load up cupboards and find cushion foam to fit window bench, a few details and then move onto to old black cupboard office cubby.
Picture
Window bench, serves as display space, trunk/ storage and window seat nook. 3 lower shelves ( resized hollow core door panel 15" wide are removable. Storage under hollow core bench seat which is hinged and folds, lots of storage.
Picture
See windows above window seat, serve no purpose except kinda sweet. I like em. They can slide out of the way to expose shelving . Still need to clean them and paint them and inside cupboards.
0 Comments

Sink extension installed, next paint.

1/5/2014

0 Comments

 
Picture
Note hinges on gate leg, top folds down against wall out of the way. Fun project
Picture
In folded position, easy access to clean around toilet.
0 Comments

Project Bathroom sink extension

1/4/2014

0 Comments

 
Picture
Next project, my father's visiting and his personal kit doesn't fit on my small bathroom counter so.... Today i will add an extension. It will be a gate leg folding surface made from 610 's own lumber.
Picture
This is a 13" wide plank board salvaged when i installed the large kitchen window. I long to save it but it's perfect for this project. It will provide ALL the wood needed . I was told when the house was built they used local trees for the planking and lumber, that explains why i found vastly different width plank boards on the interior, exterior walls. They were not cut down to standard widths but used as cut, some being quite wide, others narrow. I LOVE learning these things about this old house i have been granted the care of. She is a beauty and has such integrity. Ps see the white lines on the board i will cut for the project, as soon as pa wales up.
Picture
My Pa , his first visit to 610. Snow on the way, it may turn out to be an extended one.
0 Comments

Sawing out the window!

12/16/2013

0 Comments

 
Picture
Running long boards through table saw right out the window, ha ha ha. Love it! Framing work room closet door.
Picture
Framing door way.
Picture
Ta da, after lunch i caulk and paint, unearth curtains , install rod for them. Next i do some organizing in tool closet putting hangers on plywood tool board to hang tools etc.
0 Comments

More projects at 610

12/15/2013

1 Comment

 
Picture
Getting back to some details, like widening the antique sliding door that goes into workshop. I cut a undulating line up the middle of a 1x6 and used these 2 pieces , biscuit joining them onto the edge of door. Then i painted it mustard.
Picture
I like it. And then... I installed track lighting in wood shop room and plan to put a section in the tool closet. Right now it is almost impossible to find things after dark. Maybe tonight or tomorrow i will trim last door way, the wood room closet.
Picture
I also built a storage cupboard in wood working room from byfold hollow core doors. It required four 12" wide pair. I'd bought a bunch of them a while ago during a 1/2 off sale, so my shelving unit cost $10.00 to build using scrap for shelf supports. I used 2 small l brackets to secure it to the wall, screwing into studs. I love my stud finder. Now to start using it. It will help keep my room user friendly.
1 Comment

610 dressing up for the holidays

12/9/2013

1 Comment

 
Picture
I made roping, swags and wreath from fall shrub trimmings. Ready for Christmas, almost
Picture
Swags and roping hand tied.
Picture
Wreath for door, thank you Joan for greens and pine cones i picked up in your yard.
1 Comment
<<Previous
Forward>>

    M Shaw
    fOlk artist and
    elder assistant

    A new adventure, share my joy.

    Archives

    June 2014
    May 2014
    April 2014
    March 2014
    February 2014
    January 2014
    December 2013
    November 2013
    October 2013
    September 2013
    August 2013
    July 2013
    June 2013
    May 2013
    April 2013
    March 2013
    February 2013
    January 2013

    Categories

    All

    RSS Feed

New Site name MShaw with a dash folkart, please help me get the word out